
As you know I have designed a series of double-sided letters/cards through these years. Many of you ask how to finish them as I do, so here is a free tutorial on finishing such letter as a double-sided pinkeep. Hope you will find it useful while making your Christmas ornaments!
За ці роки в мене зібралася ціла серія вишитих двосторонніх листів. Тож, я вирішила опублікувати МК по їх збірці (у вигляді двостороннього пінкіпу) тут, у блозі. Сподіваюся, він буде корисним для вас!
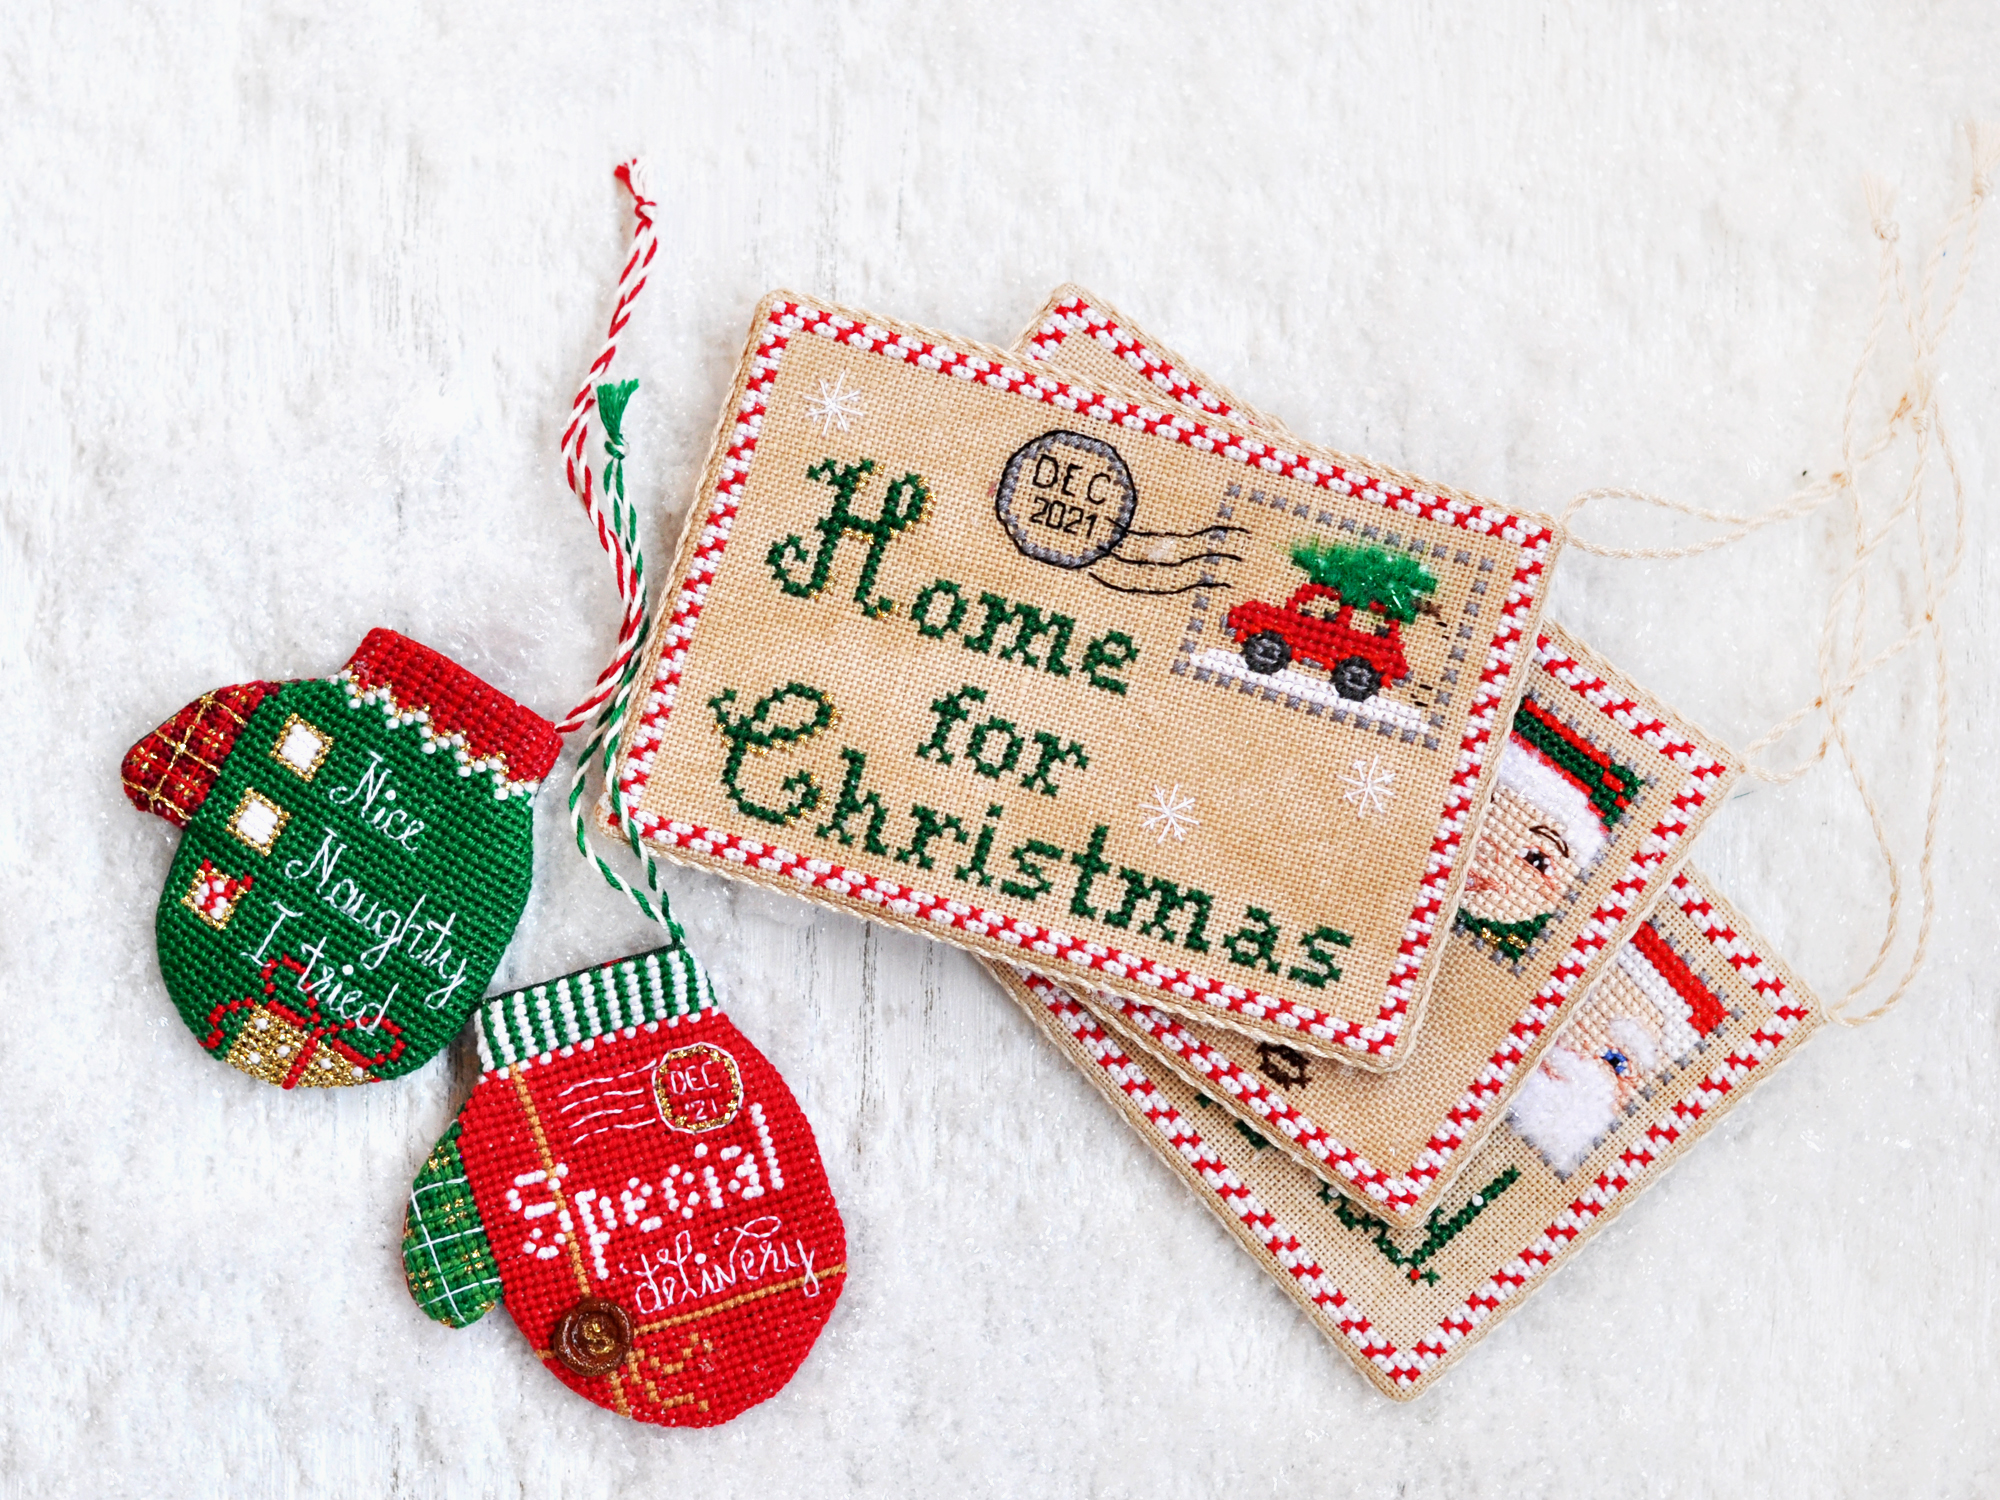
The Letter is finished as a pinkeep. Here is how you can make it.
1. First, after you cross stitched both sides, outline the rectangular shape around each side of the letter with the running stitch (adding 1 additional row to your cross stitching). Press each side of the letter.
По-перше, після того, як Ви вишили обидві сторони листа, прокладіть шов вперед голку по його періметру, з відступом в 1 ряд хрестиків від краю вишивки. Це буде орієнтир розміру листа для подальших кроків.
Попрасуйте вишивку.


2. Cut seam allowances to 1.5cm and cut corners as shown on the photo.
Зріжте залишок тканини, залишивши 1.5см припусків по контуру. Зріжте кути, як показано на світлині.

3. Cut 2 cardboard rectangles of the same size as cross stitched parts (using the contour stitched with the running stitch). Cut the corners of the cardboard rectangles diagonally a bit (1 mm).
Make notches in the corners of cross stitched parts as shown on the photo.
Виріжте 2 прямокутники з картону такого ж розміру, як лист (робіть заміри по контуру, прокладеному швом вперед голку). Трішки зріжте їхні кути діагонально (на 1мм). Зробіть надсічки в кутах вишитих частин листа, як показано на світлині.

4. Then, mount each stitched side on cardboard rectangle, by glueing it in 3 steps, as shown. When doing this, keep watching that the cardboard edge coincides with the basted outline of your letter.
Тепер натягніть кожну сторону листа на картонний прямокутник, приклеюючи поступово у 3 кроки. При цьому слідкуйте, щоб край картону співпав з контуром листа, що прокладений швом вперед голку.


5. Glue both sides of the letter (2 cardboards) together and put it under press for some time.
Зклейте разом обидві сторони листа та покладіть їх під щось важке на кілька годин.
6. Make a twisted cord (better to use DMC thread similar to your linen color - I used DMC #3033) and glue it all around, hiding the place of joining sides together.
Зробіть кручений шнур (краще використовувати нитку в тон льону, на якому вишитий лист, я зазвичай використовую DMC #3033), та приклейте його по периметру листа, тим самим місце зклеювання буде гарно оформлене!

No comments:
Post a Comment
Note: Only a member of this blog may post a comment.